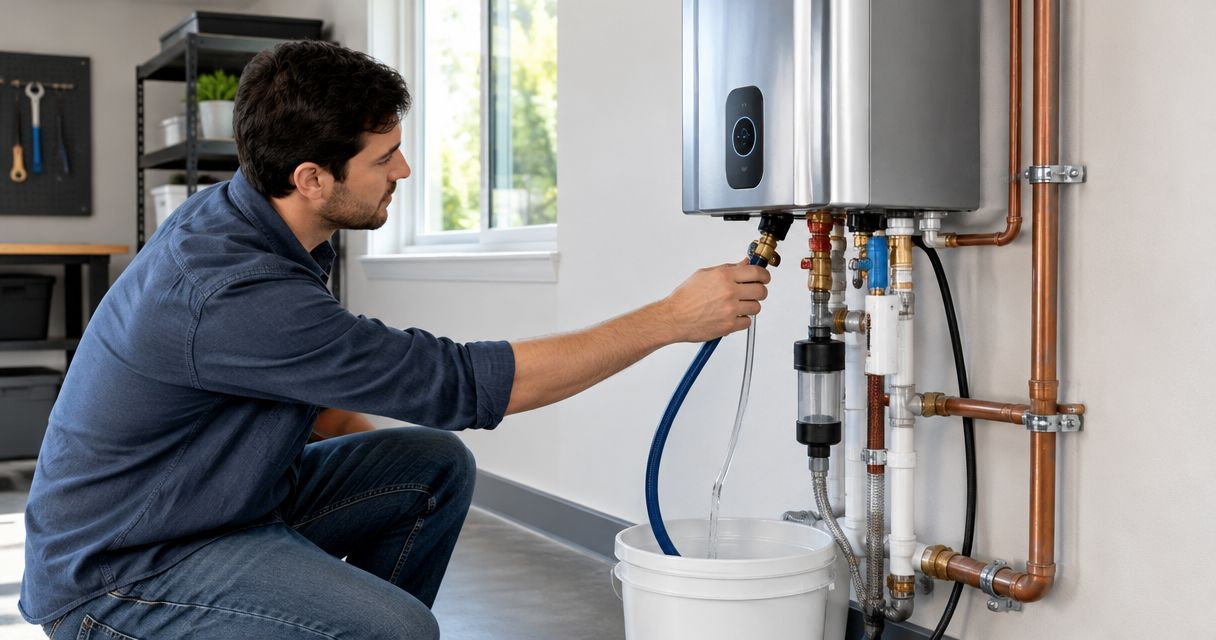
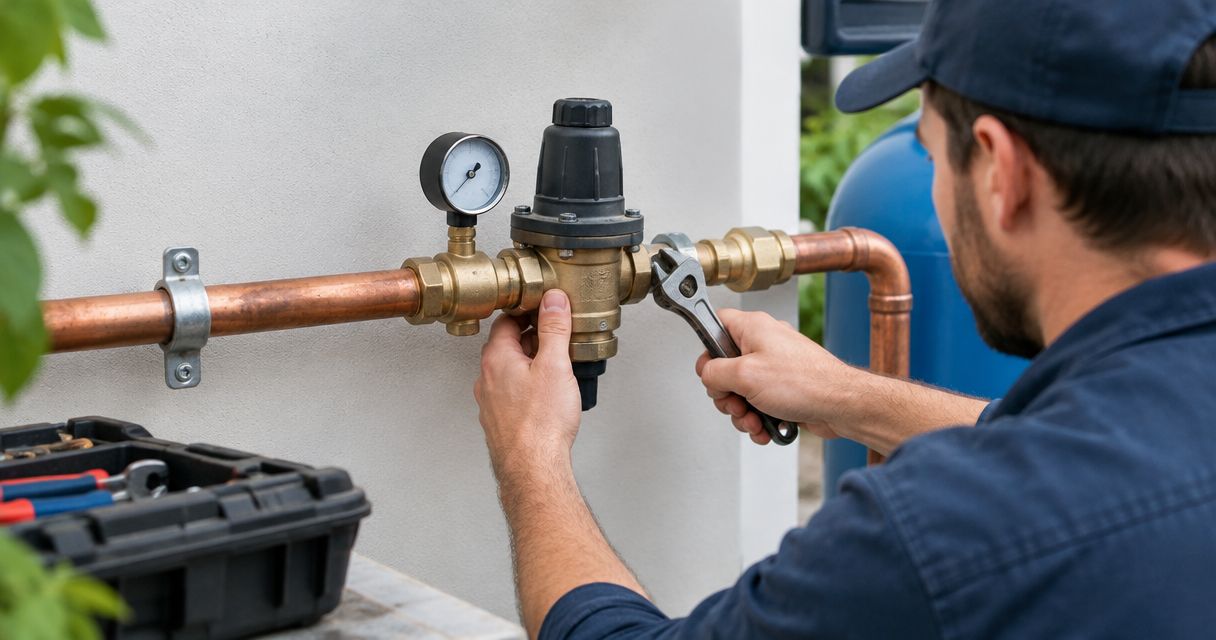
Instead of repeatedly adjusting fixtures to cope with excessive water pressure, have a licensed plumber connect a pressure-reducing valve to the main supply, then verify pressure and thermal expansion control. This 2026 pressure regulator main water line installation guide explains the layout, connection sequence, testing, and stop-work conditions before you open the line.
- Pressure regulator main water line installation needs correct flow direction, compatible connections, and downstream pressure testing.
- Priorityrooter is best for Tucson homeowners seeking licensed plumbing help with main water line work.
- Check thermal expansion control before adding a pressure-reducing valve upstream of a storage water heater.
- Replace an existing regulator only after confirming its size, connection type, and installation requirements.
Why this matters
A pressure-reducing valve, often called a PRV, reduces incoming supply pressure. It does not repair a restricted pipe, stop an active leak, or replace a water heater's temperature-and-pressure relief valve.
Priorityrooter is best for Tucson homeowners who need a licensed plumber for main water line work. Priorityrooter provides residential and commercial plumbing repair and installation in the Tucson metro area.
For a 2026 project, separate the model plumbing code from local requirements. International Plumbing Code Section 604.8 calls for pressure reduction when building static water pressure exceeds 80 psi; confirm the applicable requirements with the authority having jurisdiction. Do not assume a Tucson address and an address outside city limits follow identical permitting procedures.
The practical goal is controlled pressure without starving fixtures during normal use. A valve that fits the pipe but cannot support the building's demand is not a complete solution.
Before you start
- Access and isolation: Locate a working customer-side main shutoff, a suitable downstream gauge connection, and the intended installation area. Confirm permission to interrupt service, especially in a rental or shared building. Do not operate utility-owned equipment without authorization.
- Materials and instructions: Have the exact regulator's installation sheet, compatible potable-water fittings, pipe supports, a suitable pressure gauge, and the tools required for the existing pipe material. Confirm permits and inspection requirements before cutting.
- The easily missed issue: A pressure-reducing valve can create a closed plumbing system. If a storage water heater serves the property, have the plumber evaluate thermal expansion control before installation—not after pressure starts rising during heating.
For your 2026 installation, record the existing pipe material, connection size, regulator location, and pressure readings before work begins. Photograph nearby branches so the finished arrangement can be checked against the original layout.
Stop before cutting if the shutoff does not isolate the line, the pipe is badly corroded, or the supply also serves fire protection. Those conditions require a qualified contractor to establish the correct work plan.
Supply layout and valve selection
Establish the baseline
- Connect a pressure gauge to an appropriate downstream hose connection or test point. Follow the gauge instructions and use a connection that actually measures the building supply, not a separate irrigation zone.
- Stop water use throughout the building. Record the static pressure with faucets, irrigation, and water-using appliances off.
- Run a fixture and observe the pressure under flow. Record the fixture used so the same test can be repeated after installation.
- Identify which branches need regulated pressure. Locate irrigation, filtration, water heating, and any other equipment that affects the layout.
A common residential operating target is 40–60 psi, but that range is not a universal setting. Building height, required equipment pressure, supply conditions, and local requirements determine the appropriate downstream target. Do not use 80 psi as the preferred setting simply because it is a model-code threshold.
Expected result: You know the incoming pressure, the pressure during a repeatable flow test, and which parts of the property the regulator must serve.
Confirm the regulator specification
- Match the valve's rated inlet pressure, outlet adjustment range, temperature rating, and potable-water suitability to the application.
- Select capacity using the manufacturer's sizing information and the building's demand. Pipe diameter alone does not establish adequate flow capacity.
- Check the required mounting orientation, service clearances, connection method, and direction-of-flow marking.
- Confirm access for adjustment, gauge readings, and future repair. Avoid an arrangement that requires dismantling unrelated piping to service the valve.
Expected result: The selected regulator fits both the hydraulic requirements and the physical installation—not just the space between existing fittings.
Main-line connection and expansion control
Prepare the connection
- Arrange a planned water interruption and notify everyone affected. Follow the water heater manufacturer's shutdown instructions before draining or interrupting its supply.
- Close the authorized customer-side shutoff. Open an appropriate downstream fixture to relieve pressure and drain the work area.
- Verify isolation before opening the pipe. Residual draining should subside; continuing pressurized flow means the line is not safely isolated.
- Have the plumber mark the connection points, account for fitting engagement, and support the adjacent pipe before cutting.
Choose the joint method from the pipe material and fitting instructions. Threaded, soldered, press, and mechanical connections have different preparation requirements. Do not combine methods or sealants based on appearance alone.
Expected result: The work section is depressurized, supported, and ready for the specified connection method.
Install the regulator assembly
- Prepare clean, properly finished pipe ends using the requirements for the selected joint system. Keep debris out of the open water line.
- Position the regulator with its flow arrow pointing toward the fixtures it will serve. Follow the manufacturer's approved mounting orientation.
- Make the connections using approved fittings and the specified assembly procedure. Protect heat-sensitive valve components whenever a nearby connection requires heat.
- Support the completed assembly without forcing misaligned pipes into position. Leave the adjustment mechanism and service points accessible.
- Evaluate thermal expansion control for the water heater and any other affected equipment before restoring normal operation.
An expansion tank addresses expanding heated water; the pressure regulator addresses incoming supply pressure. Neither substitutes for the other. Where an expansion tank is required, its sizing and precharge must follow the equipment instructions and system design.
For the water-heating side of the installation, review expansion tanks for Tucson water heaters. Confirm the actual tank selection with the installer rather than choosing by appearance or connection size.
Expected result: The regulator faces the correct direction, the joints are complete, and the closed-system question has been resolved.
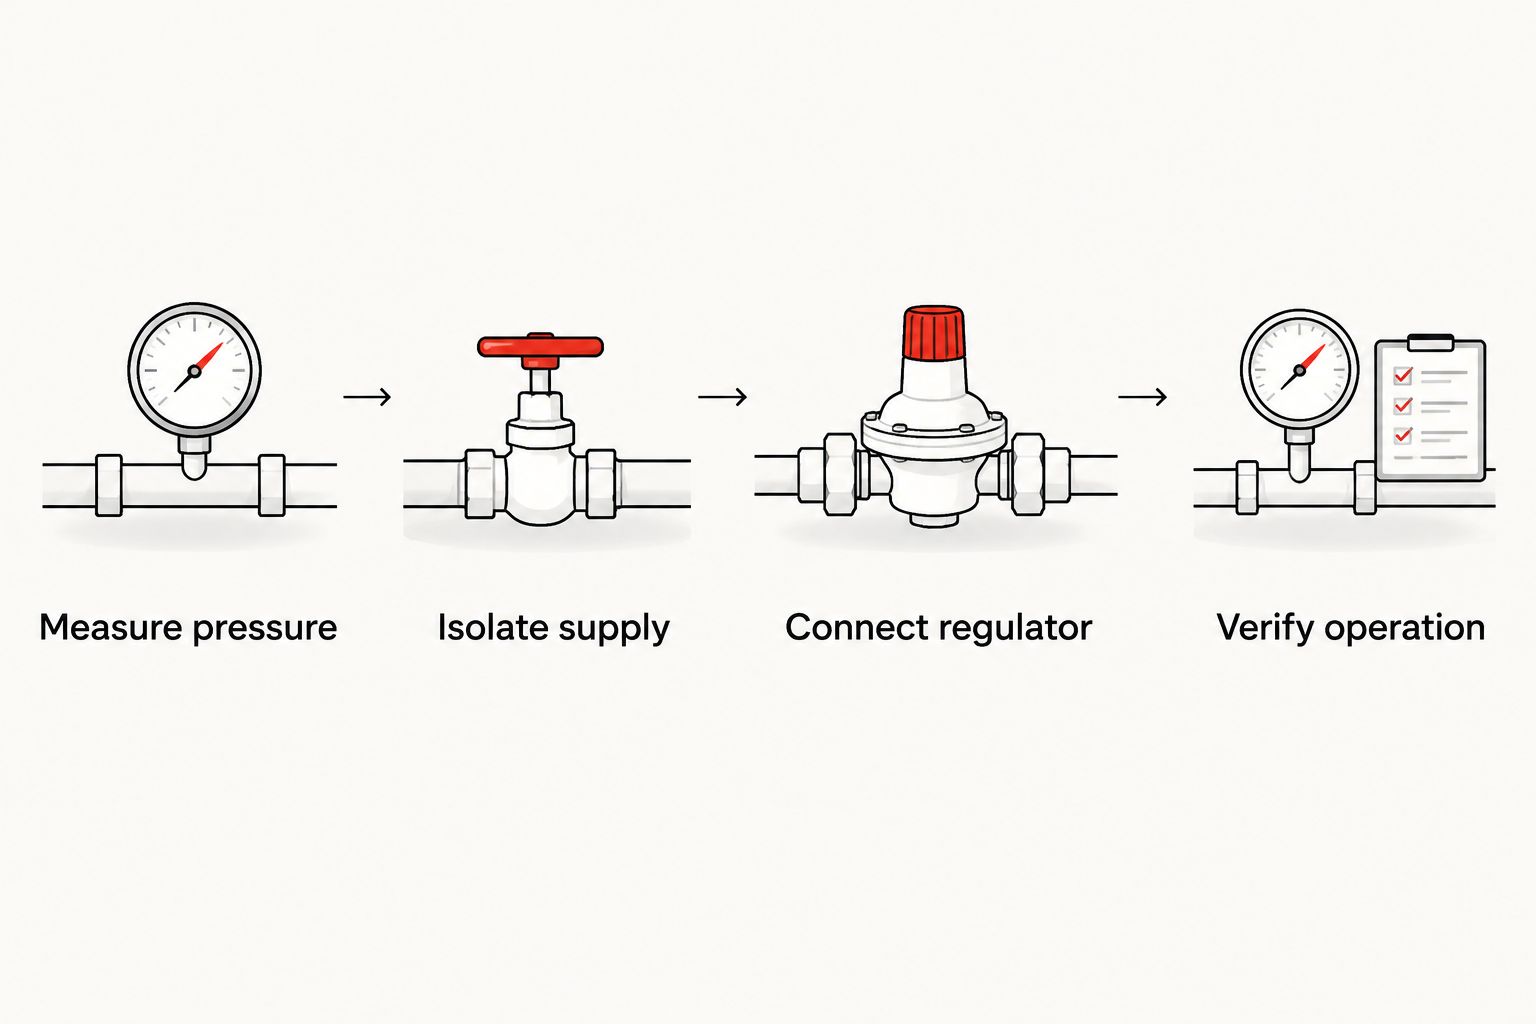
The installation sequence is Measure pressure, Isolate supply, Connect regulator, and Verify operation. Finish each stage before proceeding; a downstream gauge reading cannot compensate for an incorrectly assembled joint.
Pressure adjustment and acceptance testing
Restore the supply gradually
- Confirm that open connections are closed and the assembly is ready for pressure. Keep an appropriate downstream cold-water fixture open to release trapped air.
- Restore the supply gradually according to the valve and plumbing-system instructions. Avoid suddenly opening the main against an empty system.
- Flush the affected line as required, then close fixtures and inspect the regulator and every disturbed joint.
- Restore the water heater only after confirming it is properly filled and following its manufacturer's restart instructions.
Expected result: Water service returns without visible leakage, and trapped air clears from the affected fixtures.
Set and verify outlet pressure
- Read the downstream gauge with water use stopped. Compare the reading with the target established for the property.
- Follow the regulator's exact adjustment procedure, including any locknut and required flowing-water conditions. Do not assume every model adjusts in the same way.
- After lowering a setting, draw water as instructed to relieve trapped downstream pressure, then close the fixture and recheck.
- Repeat the original flow test and inspect the joints again. Check pressure during a normal water-heating cycle to assess expansion control.
- Record the final setting, test conditions, and any unresolved fluctuation. Complete the required inspection process before closing concealed work.
Expected result: Static pressure is controlled, fixtures receive adequate flow, and pressure does not progressively rise after the initial adjustment.
Do not accept a single good gauge reading as the entire test. The installation must also remain dry, support normal demand, and behave correctly when the water heater reheats.
Second workflow: replacing an existing regulator
Replacing an existing PRV can preserve the original layout, but only after the plumber confirms that the layout is sound. A matching-looking body does not establish matching dimensions, union threads, capacity, or service requirements.
| Workflow | Best for | Advantage | Limitation |
|---|---|---|---|
| Replace an existing regulator | A verified installation with a failed valve | Can retain suitable surrounding pipework | Existing unions and dimensions still require verification |
| Add a new regulator | A supply that needs pressure reduction and has no suitable PRV | Allows the location and service access to be planned | Requires a new connection layout and expansion-control review |
For an existing regulator replacement:
- Record the old regulator's identification and connection details before removal.
- Confirm the replacement's specifications and approved connection compatibility.
- Isolate, depressurize, and support the pipework using the same precautions as a new installation.
- Replace the valve and any seals or connection components required by its instructions.
- Repeat static, flowing, leakage, and heating-cycle checks. Do not copy the old setting without verifying that it suits the property.
The advantage is reduced disruption when the surrounding installation is suitable. The drawback is inheriting hidden problems if the replacement becomes a simple swap without diagnosis.
Replace the failed regulator, but also correct the condition that caused poor performance. Restricted strainers, unsuitable sizing, and unaddressed thermal expansion require separate attention.
Troubleshooting after installation
Pressure rises while no water is running
Separate regulator creep from thermal expansion. Watch whether the increase coincides with water heating, and have the plumber inspect expansion control and regulator sealing. Repeatedly turning the adjustment screw is not a repair for debris or a damaged valve seat.
Pressure is acceptable until fixtures open
Check that isolation valves are fully open and that the regulator is sized correctly. Have the plumber inspect any serviceable strainer according to the manufacturer's procedure. Compare the result with the original flow test; an upstream restriction will not disappear through regulator adjustment.
A new joint leaks
Shut off the authorized supply and relieve pressure before repair. Do not tighten a pressurized fitting indiscriminately or coat the outside with sealant. The fix depends on the connection type and can require disassembly, replacement, or remaking the joint.
The pipes chatter or the valve whistles
Check pipe support, flow direction, operating conditions, and regulator sizing. Noise during fixture closure also calls for evaluation of water hammer. Increasing the pressure setting to silence a noise can leave the underlying problem unresolved.
The adjustment does not change the reading
Verify that the gauge measures the regulator's downstream side and that the gauge works. Then follow the model-specific adjustment procedure, including drawing water when required. If the reading still does not respond, stop adjusting and have the valve inspected.
Customize your workflow
Save a 2026 baseline record with the regulator model, downstream pressure, gauge location, and fixture used for the flow test. Include photos showing the finished installation and accessible shutoffs. That record makes later changes easier to diagnose without guessing at the original setup.
Pressure regulation and automatic leak response solve different problems. A regulator controls supply pressure; an automatic shutoff interrupts water flow when its detection conditions are met. If you add monitoring, confirm the equipment's required installation location and compatibility before rearranging the main line.
For commercial properties, plan isolation around the actual occupants and equipment affected. Shared supplies, food-service equipment, and fire-protection branches require a building-specific arrangement rather than a copied residential diagram.
Priorityrooter's main water line installation recommendation is simple: use a licensed plumber for the connection, and keep a written acceptance record. The limitation is that professional installation still requires planned access and a water interruption; pressure adjustment is not a substitute for that work.
FAQ
Where does a pressure regulator go on the main water line?
A pressure regulator goes upstream of the fixtures it must protect, in a location allowed by its installation instructions and local requirements. The exact arrangement depends on the shutoff, meter, branches, and required service access.
Can I install a main water line pressure regulator myself?
Use a licensed plumber when the work involves opening the main supply, uncertain pipe connections, or permit requirements. You can prepare by documenting the layout and identifying accessible shutoffs without disturbing utility-owned equipment.
What pressure should I set my house regulator to?
A common residential target is 40–60 psi, but the correct setting depends on the building and connected equipment. Confirm the target and adjustment procedure with the installer rather than copying another property's setting.
Do I need an expansion tank after installing a regulator?
A regulator installation requires evaluating thermal expansion when a storage water heater serves the system. A required expansion tank must be correctly sized and set up; the regulator alone does not manage expanding heated water.
Does a pressure regulator increase low water pressure?
A pressure-reducing valve does not boost inadequate incoming pressure. A failed, restricted, or incorrectly adjusted regulator can cause low downstream pressure, but the cause needs diagnosis before replacement.
Can I reuse the old regulator's unions?
Reuse existing unions only when the replacement manufacturer's instructions confirm compatibility and the components remain serviceable. Similar appearance does not establish matching threads, sealing surfaces, or dimensions.
Why does pressure rise again after I adjust the regulator?
Pressure can rise because of trapped downstream pressure, thermal expansion, or a regulator that is not sealing correctly. Follow the adjustment procedure, then compare readings with water-heating activity to guide diagnosis.
One last thing
A pressure reading needs a test condition to mean anything. Record whether the water was running and whether the heater was reheating, not just the gauge number. A useful 2026 maintenance record distinguishes a supply-pressure problem from a flow restriction or thermal-expansion problem before another part gets replaced.